The Reality Master disk contains a map editor. To access it you need to select Background creator from the main menu.
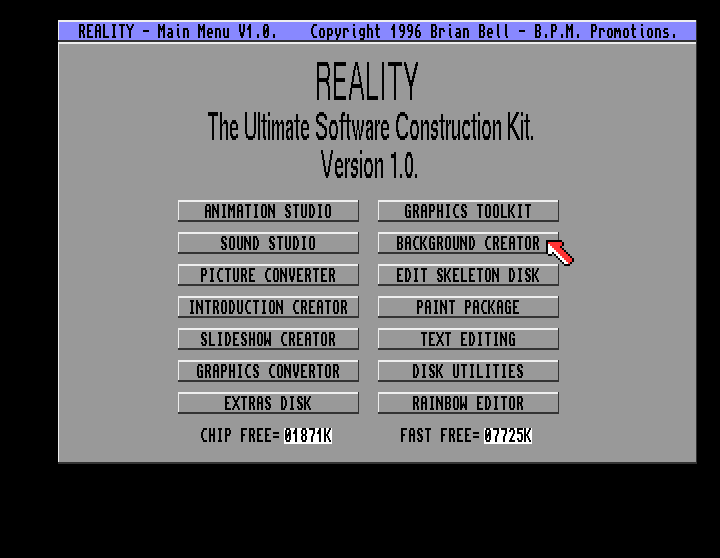
To use the Background creator you need some background tiles. We created these in tutorial one.
Select Load from the main screen in the Background creator.
Select Load from the main screen in the Background creator.
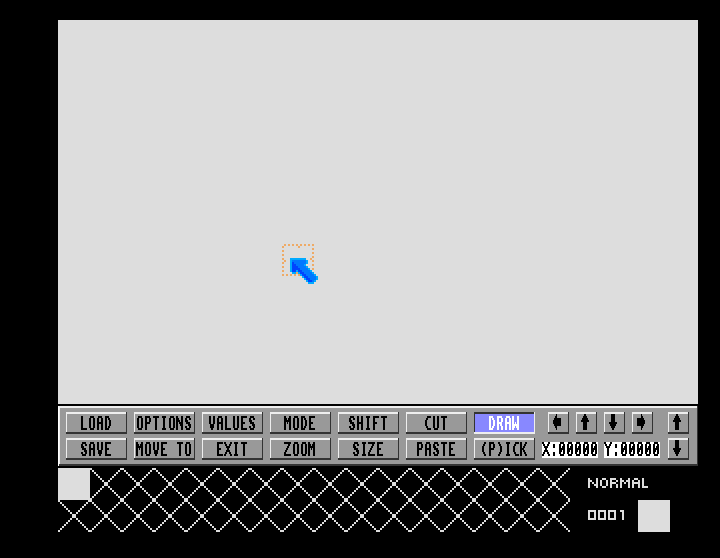
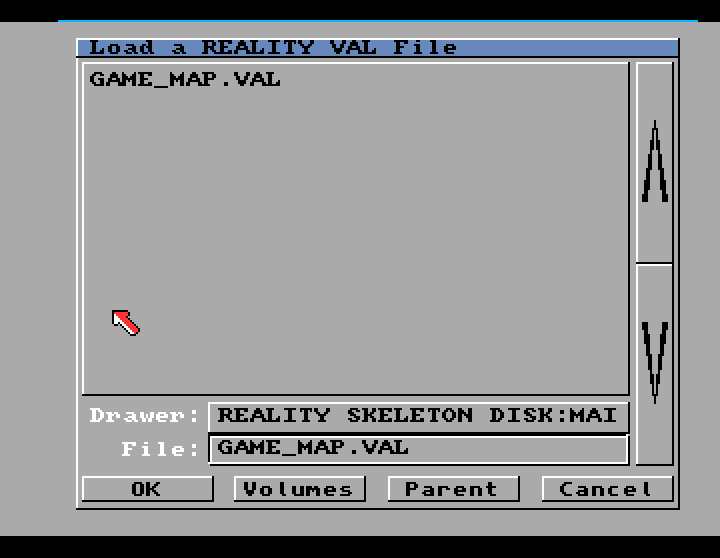
When you select load you are presented with three options.
Load Map - This is the map file which remembers the order you placed the tiles
Load Values - This sets values for the background tiles which determines how the tiles interact with the player character e.g. are the tiles solid or non solid.
Load Tiles - These are the tiles which make up the map.
You need to load the files in the following order
Load tiles first
Then load map
Then load values
All these files are saved on your skeleton disk under the main files folder.
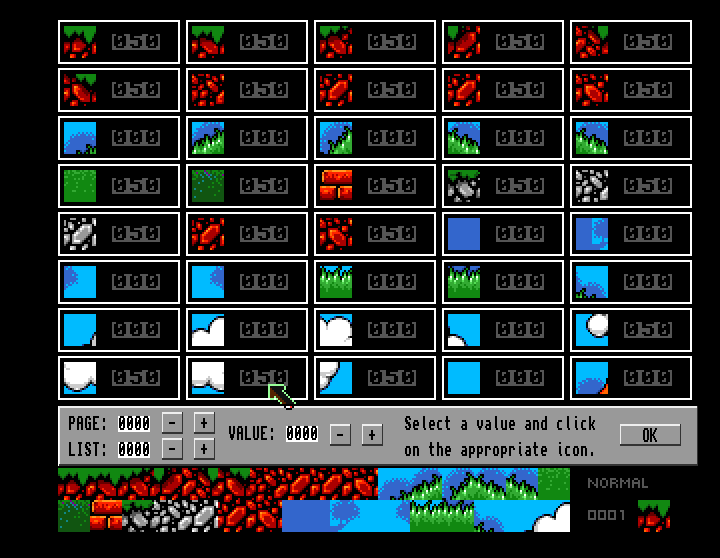
A quick note about the values screen. When you select values you will be confronted by your tiles (as long as you have loaded them in) and numbers next to each tile. I have identified the following for the tiles used in the Adventure Skeleton disk
Value 0 = no affect
Value 10 = used for ladder tiles
Value 50 = used for solid platforms - player can walk on them and land on them
Value 51 = these seem to reduce energy if player lands on them.
Value 0 = no affect
Value 10 = used for ladder tiles
Value 50 = used for solid platforms - player can walk on them and land on them
Value 51 = these seem to reduce energy if player lands on them.
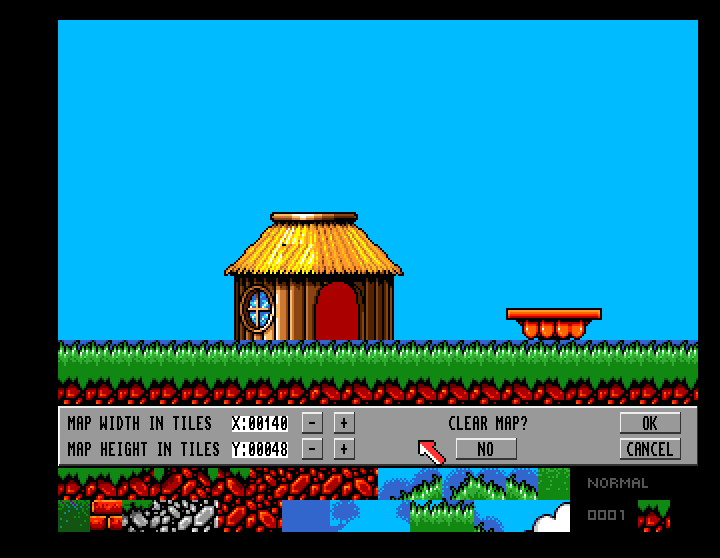
Quick note about the map size option. Select Size from the main screen and you will see you map and the option to increase the width and height of your map.
Each screen is 20 tiles wide. Therefore if you want a map seven screens wide the map width needs to b 20 X 7 = 140. If you want the map to be 10 screens wide you need to increase it to 200.
Each screen is 12 tiles tall. Therefore if you want a map 4 screens tall you need to set the height to 4 X 12 = 48.
In the example below (and the map used by the default game on the skeleton disk) the map is 140 wide (7 screens) and 48 tall (4 screens).
The program seems to be able to have very large maps but for your first game start small and add extra areas on once you are confident with package.
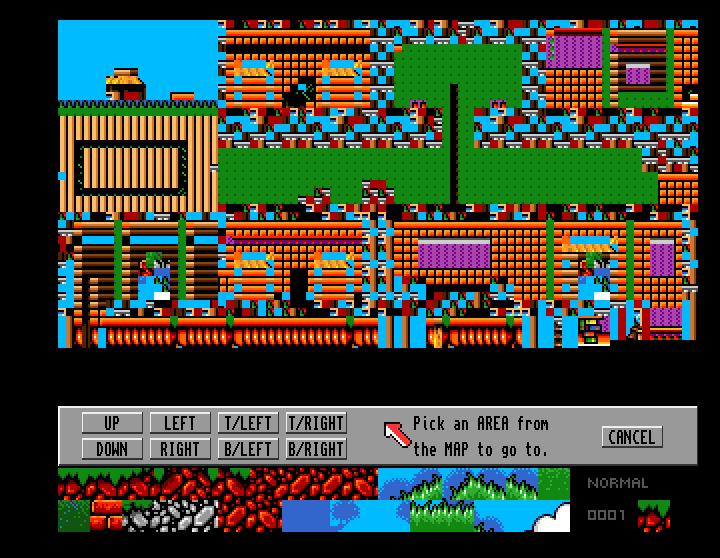
Quick note about the Zoom function. If you have a large map this option allows you to jump to a particular part of the map. As we have changed the tiles to the default game the map is going to look very jumbled.
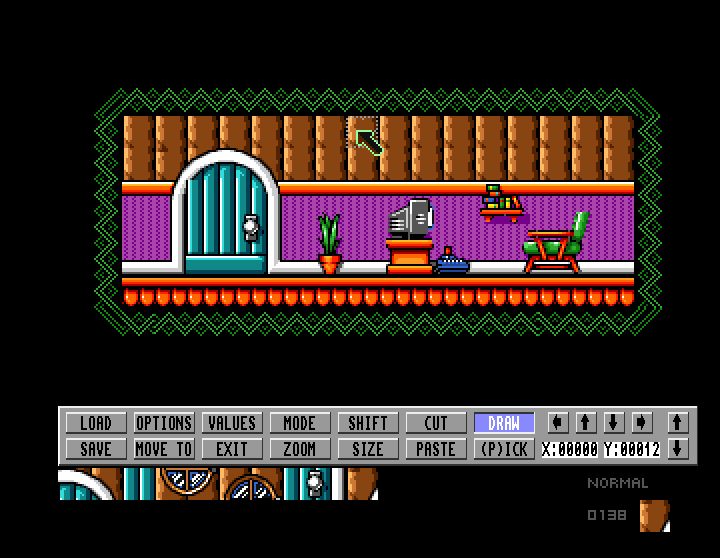
Now for the fun part. The drawing of the map. The two arrows to the right - one pointing up and one pointing down, allow you to scroll through the tiles. The smaller arrows to the left allow to scroll around the map.
I really can't emphasize the need to start small. It gets very confusing if you start with a back map. Work on one room first (remember the 20 tiles wide and 12 tiles tall dimensions to map out the screen first).
Use your mouse to select the tile you want, the current selected tile is shown in the bottom right corner. Left mouse button places tile and right mouse button will undo last change.
Remember the map will automatically sort out the code for moving to the next room. Therefore if you include a tile with 0 value on the bottom, the character will fall downwards to the screen below. If you don't want this to happen include a tile with a solid value of 50. Similarly if you don't want the platyer to move right, include a series of tiles with value 50 to the right of the screen.
If you set your tile values incorrectly you can get strange effects, like the player's character disappearing or even walking in the opposite direction.
If you have used a map editor before, this is quite self explanatory and easy to use. I have never used a map editor before and created a series of rooms in minutes.
That ends tutorial two. The next tutorial will either look at sprites or setting zones. The aim is to create a simple action where the player enters the door of the house and gets transported to the living room and then when they exit the blue door they go back to screen one.
That ends tutorial two. The next tutorial will either look at sprites or setting zones. The aim is to create a simple action where the player enters the door of the house and gets transported to the living room and then when they exit the blue door they go back to screen one.