amigapd
  • Games
  • Interviews
  • Recent Games
  • Assassins Disk Downloads

Dylan the Spaceman - Update

8/10/2015

0 Comments

 
Picture
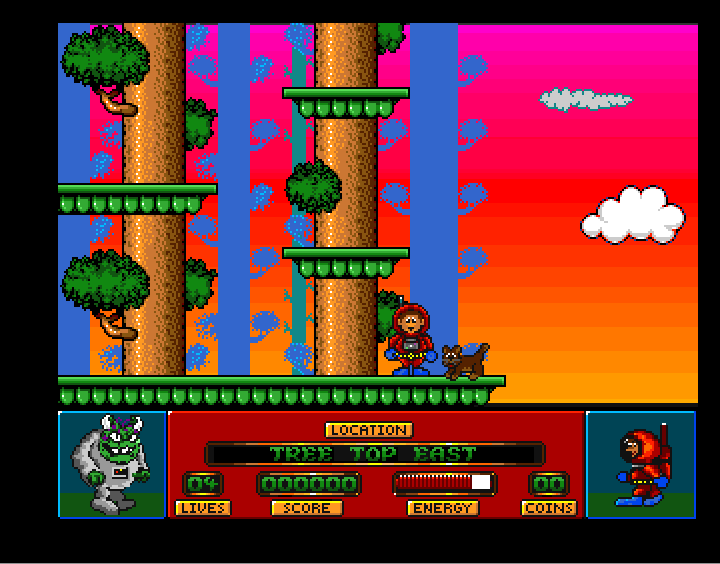
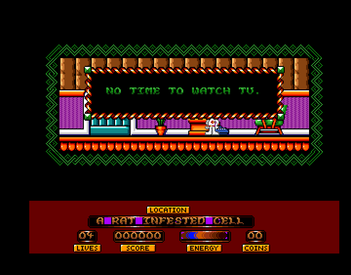
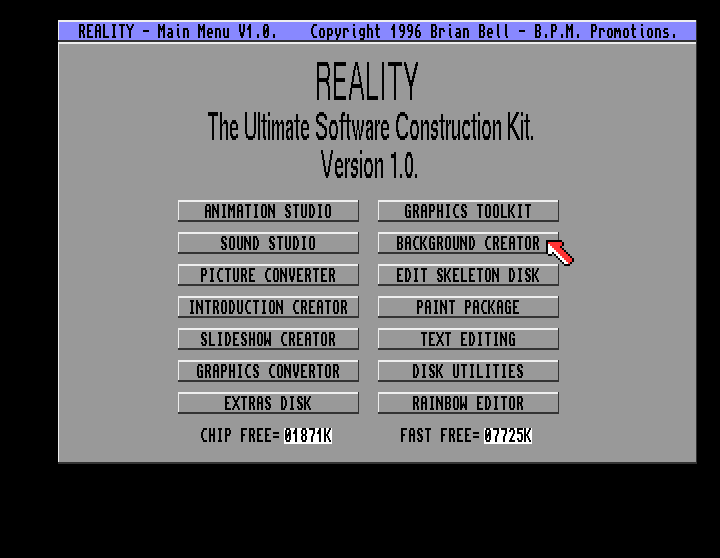
Just come back from holiday and opened up the latest edition of Retro Gamer and was pleasently surprised to see a preview of Dylan the Spaceman and the Smelly Green Aliens of Mars.  Thought it was best to provide an update of where we are are.

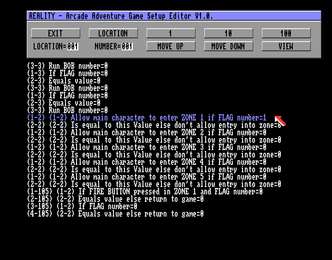
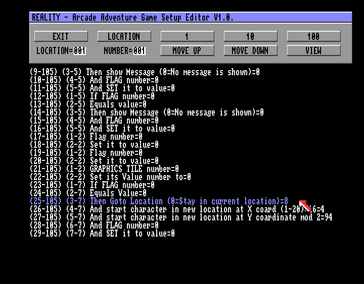
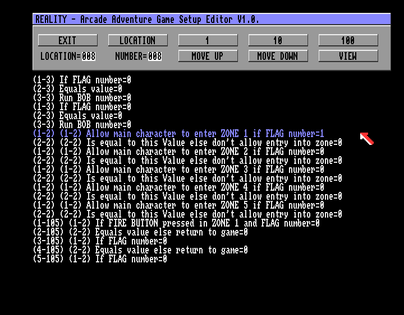
Production of this game sort of stumbled to a temporary halt as I got side tracked by making Kingdoms of Steam - a horizontal shooter for the Amiga. That game has now been finished in terms of its single disk release and therefore my attention will return to this game.

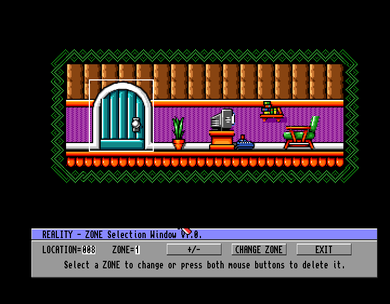
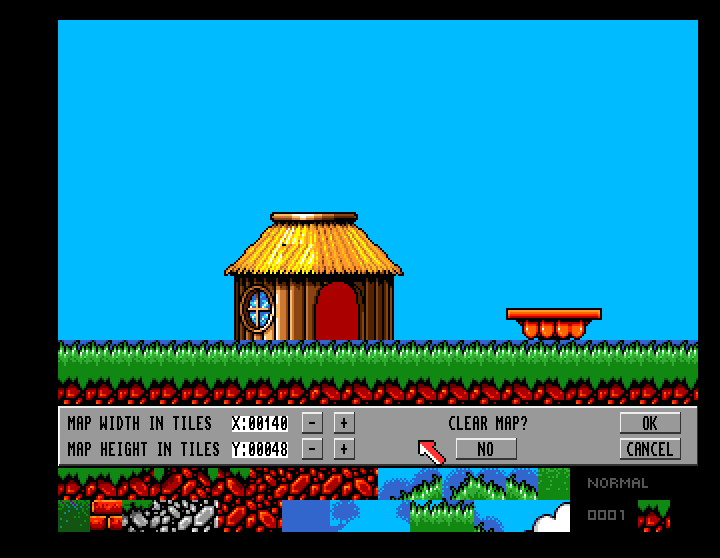
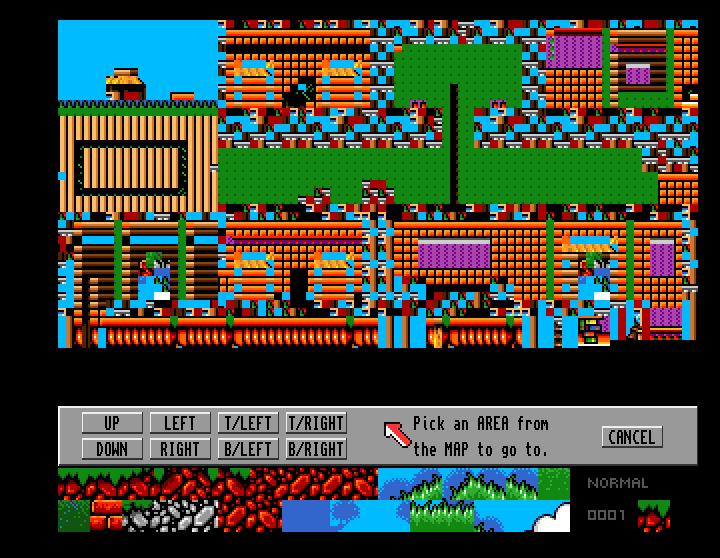
I hope to amend the game in the next couple of weeks to enable a playable demo to be released which will allow the player to explore the game world and save Robot 5 - at which point the game will end. 

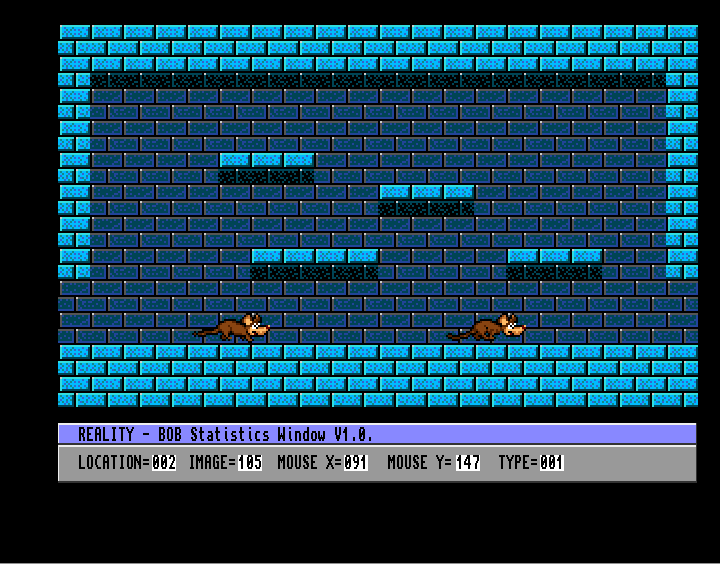
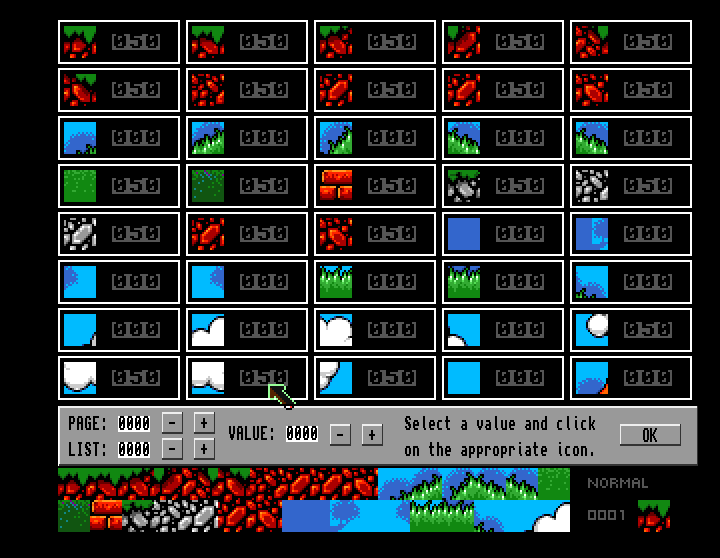
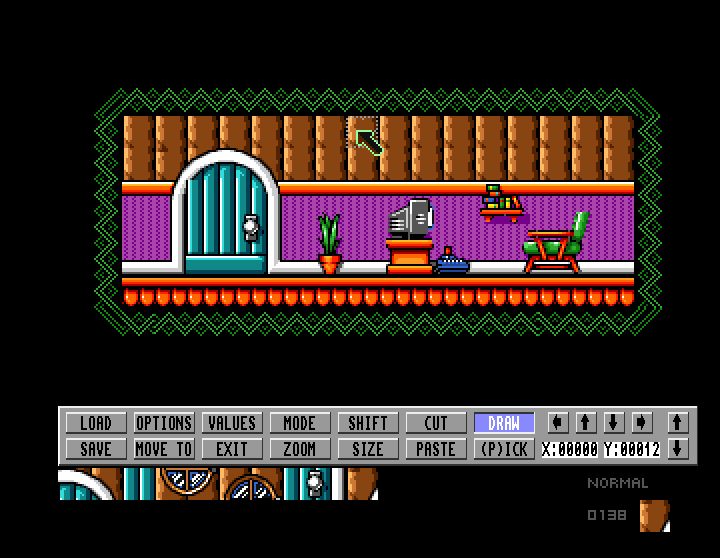
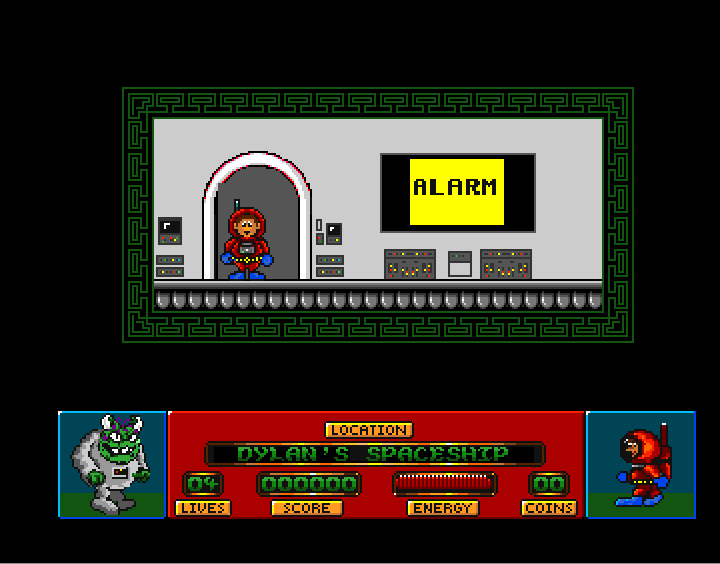
The final game release will contain an extended play to include the Mars screens where you need to capture the evil Alien.  Part of the reason for the delay was due to creative block regarding how to draw the Mars level and create suitable puzzles.

Future updates of this game will be made on our facebook page - https://www.facebook.com/amigapd - where you can also read about our other projects, one of which is helping out on the graphics for the next Maxwell Mouse adventure which was also mentioned in this months edition of Retro Gamer.


Picture
0 Comments

Reality Game Creator - Tutorial 6 - Enemies

12/26/2014

1 Comment

 
In this tutorial we are going to look at adding enemies to rooms.  We do this by editing Bobs.

The first thing to do is load up the skeleton disk and from the main menu select Bob Setup.

Picture
Bobs are the special objects for the game.  They are mainly used for enemies but can also be used to provide animated static background items e.g. torches or waterfalls.

In this example we are going to use the bob setup to create an animated horizontal rat baddie.

Selecting Bob Setup will take you to the Bob Editor as shown below.

Picture
The first thing we need to do is locate the graphic image we want to use.  To do this click on Pick Image and this will take you to a screen where you can scroll through your graphics.

Picture
The sprite we want to use is the rat sprite.  This starts at sprite number 105 and has 3 frames of animation for movement to the right and 3 frames of animation for movement to the left.

The next option is The number of ANIMATION images - if you want a static animated item such as torches, you would select 0 - for the rat, we need to select 3 as the rat has 3 frames of animation for each direction - the maximum any bob item can have is 5.

The next option is to set the Animation Speed - This determines how fast the sprite is animated - a speed of 6 seems to work quite well and is the default setting we are using.  Lower speeds makes the animation routine run faster whilst higher numbers makes the animation run slower.

If you want to experiment, change the speed and then select Test Bob this will enable you to test the bob in any of your rooms - you are first asked to select the location / room you want to test the bob in.

Picture
We are going to place the rat baddie in room 2 so we are going test the rat bob in this location.
Picture
When you are taken to the screen, you will have two bobs showing - one which you can move and one which is moving automatically. 

At this stage you are just checking animated speed and not looking to change the bobs movement  - if you are happy with the animation spped and want to exit press the left mouse button.  Pressing the right mouse button will overwrite the start position of the bob, in the above picture I would be overwriting the pattern where the bob is running along the ground to a starting position where it would start below the ground level which is clearly something I don't want to do at this moment in time.

Returning to the Bob Editor we now have to decide on the type of (movement) pattern.

There are nine choices to select from as shown below.


Picture
We want the rat to move in a horizontal direction, changing its animation for both left and right direction.

If you want to check the animation direction routine then from the Bob Editor menu select View Type.  You need to remember that it will show the animation direction routine for the current number showing in the grey box and not the one list against Type of Pattern to be used by the bob.
Picture
When you click on View Type you will be taken to another screen where Charlie Chimp will show you how the bob will move along with a short description of the movement type.

Picture
We are nearly finished with adding our rat to room 2.  All we need to do now is work out the start position and the distance the rat can move.  What I normally do is have a pen and paper handy and make a note of the relevant X and Y co-ordinates for start position - furthest distance to the left and right the bob can move to and the furthest distance the bob can move vertically.

The first location we want to set is the start position - it is generally a good idea to have the baddie starting in the middle of the room rather than near the sides where the player can enter.  For the start position, if you exit the test bob screen by pressing the right mouse button then reality will automatically set the start position to that of where the moveable sprite was when you exited the screen.   In the example below the start position would be overwritten to X - 091 and Y=147
Picture
Now its a case of selecting the furthest location the bob will move to the left minimum X position and the furthest location the bob will move to the right maximum X position.  Again you may want to leave some space for the player to hide at the edges of the screen, rather than having your enemies moving to the extreme end of the left / right hand sides of the screen.

Now you have to select the furthest location the bob will move vertically.  The highest position is shown by Minimum Y position and the lowest position vertically the bob can move is shown by maximum Y position.

The next option is to select whether you want the bob to start facing in a left or right direction.

If you select 0 the bob will start facing left and will begin moving to the left.  If you select 1 the bob will start facing right and will move to the right first before then moving in the opposite direction.

Now we have to select the speed of movement of the bob - The higher the number the faster the bob will move - 2 is a good default speed for baddies - 8 is ridiculously fast, but feel free to experiment.

Now we have to set the strength of the baddie, which basically states whether the baddie will harm our player by taking some energy (set number to 1, or whether it will kill the player instantly, set the number to 2 or is friendly and causes no damage, set number to 0.  For our rat we want to set the variable to 1 to reduce the player's energy if it collides with the rat.

Next you have the option to select the direction, vertical moving baddies will start moving in - set this to 0 for upward moving baddies and to 1 for downward moving baddies.  The rat is a horizontal moving bob so we don't need to worry about this.

Lastly, you can select a particular message to be shown, if the player dies as a result of hitting the bob.  Just select the number which relates to the message number you want displayed.

Once,everything is set as you want, Exit the Bob Editor.  Then from the Reality Adventure Skeleton main menu select Save Data.   If everything has gone as planned, you should have now added a bob / baddie to one of your rooms.


Picture
Overall, this has to be one of the easiest game creator kits I have used to add attack pattern and enemies to a game map.

The next tutorial may either look at objects in more detail or look at modifying the game information screen (currently shown at the bottom of my DM game).
1 Comment

Reality Game Creator - Tutorial 5 - Messages

12/12/2014

0 Comments

 
In this tutorial, we are going to build on our knowledge of zones and add in the text message function.  By the end of this tutorial we will have a text message appear when the player presses the fire button in a certain zone.

The first thing we need to do is draw a zone around where you want the text message to appear. 

Remember tutorial 3, select Define Zones from the Skeleton Disk menu option and draw a square around the part of the screen you want the player to interact with to obtain a message.

In this example, I want the player to get a message if they press the fire button when infront of the TV.  I have therefore drawn zone 2 around the TV.  I have to keep Zone 1 for the door from tutorial 3.

Picture
Having created the Zone, we now need to go to create the message.  To do this we return to the Skeleton disk main menu screen and select Messages.
Picture
Once you select messages, you have the option to view existing messages or create new ones / amend existing ones.

As this is a new game we are going to edit message number 1.  To select different messages press the left mouse button on Mess No to increase the message number and use your right mouse button on Mess No to decrease the message. 
Picture
In this example we are going to create the Message "No time for watching TV".  To do this we make sure the Mess No is showing 001 and we then select Edit Mess.

Picture
This brings up a keyboard which you use your mouse pointer to activate.  This should be quite straight forward to use.  Type your message and then select Exit.

This will take you back to the Main Message option - from here you can select View Mess and this will show you how your message will look in the game.

Right mouse button will exit the preview.

Extra notes on message writing -

Selecting new line once will show this character #

If you are writing a long message you may want to use select new line twice ##  This will create a new box giving you more characters to display your message.

Picture
No its time to go back to the Game Setup screen we used in tutorial three.

In this example, we adding a message in location 8 - so I need to change the location to 8. 

Then I need to scroll down to the relevant part which relates to zone 2 and change the flag setting to 1 for if the fire button is pressed.

Picture
Scrolling down further, I get to the Then Show Message (0=No message is shown) = 0  and I change the 0 to the number of the message I want to be shown - in this case message number 1.


Picture
Now its time to Exit out of the Game Setup screen. 

From the main Skeleton Disk menu you need to select Save Data. 

Now select Test from the main skeleton disk menu and hopefully you should get the text message as you want in your game.

Picture
That ends the tutorial on messages.  Next tutorial may be either adding enemies or using objects.
0 Comments

Reality Game Creator - Tutorial 4 - Zones

12/12/2014

0 Comments

 
We have previously explained how to create a sprite sheet and tile sheet and convert them into the format used by Reality.  We have also given an overview of the map tool.  Now we are going to start pulling together our sprites and background to create some in game action.

The first thing we need to know about is zones.  Each screen can have up to four zone areas where certain events can take place. For this example we are going to explain how to use zones to move the main character to a different location e.g. entering a house via a door.

What you need to do is load the Reality game disk - then from the main menu select Edit Skeleton Disk.  Once the skeleton disk is loaded you should have the 12 option menu screen shown below and you need to select Define Zones. 

Picture
You will then be asked to select a location.  You need to remember you map screen, in this example, I am going to creating a zone around a door in location 1 which will take me to location 8.

To select a location, use the left mouse button to increase the number and the  right mouse button to decrease the number.

Picture
Once you have chosen your required location select ok.  This will then take you to a screenshot of how your location currently looks.


Picture
What we want to do is to draw a zone around the door, so that when the player activates this zone something happens - in this case they move inside the house.

To draw the zone, you select change zone. You are then asked to select the top Left corner of the zone with the left mouse button.  In this example we want the top left corner to be the top left corner of the door.

Picture

Having selected the top left area we are now asked to select the bottom right corner of the zone.  For my game this isn't the bottom right corner of the door but extends down on the ground level.  I have one block which of grass which is background rather than solid platform, so I must make sure that the zone extends to where the main character will be walking.

Picture
Once you have selected the bottom right corner the zone will appear as a white border.
Picture
We have now successfully created our first zone for room one, but we now need to tell Reality what we want to happen when the player enters this zone.  To do this we need to select exit from the Zone Selection Window and return to the main Skeleton Disk menu.  From there we will select Game Setup.
Picture
This is menu looks very confusing, and I am still working through the options to understand how everything works.  Basically this menu allows you to specify how all the puzzles, objects, zones and other stuff interact with your player. 

The zones could be automatically activated by when the player walks into the area or alternatively the zone may only be activated if the player presses the fire button.

To keep things simple, all you need to worry about at moment, is that you need to select the correct location. 

To select a location click on the location option.

To increase the location number click on the location option
with your left mouse button.  To decrease the location number click on the location option with your right mouse button.

Picture
What you need to do now is use the move down option to scroll down the options until you get to the part which shows whether the player can enter zone 1, Zone 2, Zone 3 etc. 

We are interested in Zone 1 and we need to change the 0 to 1.  To do this move your mouse over the relevant line and click the left mouse button.  Remember the number at the top must be showing 1.  To change the number click on the 1 button with your left mouse button to increase the number and use the right button to decrease the number.

Picture
What we now need to do is tell Reality what location we want the player to be transported to.  To do this scroll down the options again until you get to the option which says Then Goto Location (0=Stay in current location)=0.  

What you need to do is change the number to the location you want the player to move to, in our case 8 as we want the player to move to room 8.
Picture
What you now need to do is repeat the same process for room 8,

You need to go back to the Define Zones tool from the main option screen from the skeleton disk.

Select room 8 and Draw a zone around the door.

Picture
You then need to go back to the Game Setup tool from the main option screen from the skeleton disk.

Remember to change the Flag for Zone 1 to = 1 for location 8

Picture
Remember to change the Goto Location option to location 1.

Picture
Lastly remember to save your data by selecting Save Data from the main menu from the skeleton disk.

Picture
Everything now should be complete for you to test the game.  You may need to do some minor amendments to the start location of your character. 

In this example I've amended the start location as X = 4 and Y=94

Picture
Below is a video showing the game after the tutorial is completed.

0 Comments

Reality Game Creator - Tutorial 3 - Sprite Sheet

12/10/2014

2 Comments

 
In tutorial 3 we are focusing on getting our sprites ready, before we start combining them with our background tiles and game map to start making our first level.

Again we recommend you use a separate paint program to produce your sprites. When creating your sprites you need to remember the following:

1. use colour zero as your background colour - this colour is used for transparency.

2. use colour one as your border colour.

3. Each sprite must have its own border and there needs to be space between each of your sprites.

4. You must use the same palette as your background tiles.

Below is an example of my WIP game sprite sheet.  I have 6 frames for walking right and 6 frames for walking right ( I think you can have a maximum of seven frames).  I have 0 frames for jumping and three frames for climbing.  The reason for this is that I have just followed the structure of the original skeleton disk.

The enemy sprites can have a maximum of 5 frames of animation.

Picture
Once you have created your sprite sheet in your paint program you then need to convert it to the unique format for reality. Similar to the background tiles tutorial you need to load the Graphic Converter program from the Reality Master Disk.


Picture
Once you have loaded up the Graphic Converter, you need to load in your IFF file.  As long as your sprite sheet has followed the structure of using colour 1 to create a separate border for each sprite, and colour 0 for the background, then Reality will automatically cut your tiles.  You will see the number of sprites converted in the top right corner, in the example below 194 sprites have been converted.

Picture
You now need to save the sprites in the format used by Reality.  Select Save Sprites from the options.  For the sprites to be used in your game, you need to save them on your skeleton disk.  Remember to save the file under the main files folder and replace the  Sprites.GRA file.


Picture
You should now have your own background tiles, background map and sprite files.  For the next tutorial we will bring the map and sprites together and look at zones.

Before ending this tutorial, we will just mention the palette file.  In order for your game to display your sprites and background tiles correctly, you must ensure that you have the correct palette saved to your skeleton disk.

To do this load your skeleton disk in reality (Reality seems to be a bit strange in that you have to place the skeleton disk into your disk drive after selecting edit skeleton disk from the Reality Master disk menu option rather than have it already inserted in your drive.
Picture
Picture
Once you have successfully loaded your skeleton disk all you need to do is select Grab Palette. Reality will then ask you to load an IFF file which contains the palette you wish to use.  Load either your IFF file for your sprites or background tiles (they should both be using the same palette) and then Reality will save the file to your game disk.
Picture
2 Comments

Reality Game Creator - Tutorial One - Using the Graphic Convertor to convert sprites / tiles to GRA format.

12/4/2014

2 Comments

 
Welcome to our first tutorial for Reality Game Creator.

We are looking at this package with focus on the Adventure Game skeleton Disk which allows you to create a Dizzy Adventure game.

The graphics tool in reality is very basic and therefore we recommend you use a stand alone graphic package like Deluxe Paint and import your tiles and sprites sheet.

To do this you need to remember two things.

Firstly colour 0 is used for transparency
Secondly, colour 1 is used for importing the tiles and you therefore need to create a border for each tile/ sprite in this colour.

Once you have created your tile or sprite sheet in deluxe paint you need to load up the Reality Master disk.  Then select Graphic convertor from the options.


Picture
Once in the graphic convertor - select load IFF.  In the example below we are loading in dmtiles2.iff


Picture
Once you click on OK the file is loaded in.  If you have given your tiles / sprites a border using colour one, then Reality will automatically grab them.
Picture
To see if the import has worked correctly, check the top right hand corner where you will see the text – Number of images in memory – if this number is greater than one then your tiles / sprites have been grabbed ok – in this case 165 background tiles have been identified. 

What we now want to do is save this background tiles in the GRA format used by Reality and therefore we click on Save Tiles

Picture
To use the tiles in your game, you need to save the file to your skeleton disk. 

You need to overwrite the TILES.GRA file  which is located under the main files directory on the skeleton folder.

This is the end of our first tutorial.  Tutorial two will look at using the tiles in the map editor.

2 Comments

Reality Progress

12/3/2014

0 Comments

 
It might not look much , but I've now worked out how to make the main character enter a room and I have also corrected an annoying sprite detection error, where the main character was not interacting with the platform tiles correctly (he kept walking along one tile extra when he should have fallen)

All to be revealed in tutorial 4 which will cover zones and flags. 

Tutorial 3 will focus on sprites.
0 Comments

Reality Game Creator - Tutorial 2 - Background Editor

12/2/2014

1 Comment

 
The Reality Master disk contains a map editor.  To access it you need to select Background creator from the main menu.
Picture
To use the Background creator you need some background tiles.  We created these in tutorial one.

Select Load from the main screen in the Background creator.
Picture
When you select load you are presented with three options.

Load Map - This is the map file which remembers the order you placed the tiles
Load Values - This sets values for the background tiles which determines how the tiles interact with the player character e.g. are the tiles solid or non solid.
Load Tiles - These are the tiles which make up the map.

You need to load the files in the following order

Load tiles first
Then load map
Then load values

All these files are saved on your skeleton disk under the main files folder.
Picture
A quick note about the values screen.  When you select values you will be confronted by your tiles (as long as you have loaded them in) and numbers next to each tile.  I have identified the following for the tiles used in the Adventure Skeleton disk

Value 0 = no affect
Value 10 = used for ladder tiles
Value 50 = used for solid platforms - player can walk on them and land on them
Value 51 = these seem to reduce energy if player lands on them.

Picture
Quick note about the map size option.  Select Size from the main screen and you will see you map and the option to increase the width and height of your map.

Each screen is 20 tiles wide.  Therefore if you want a map seven screens wide the map width needs to b 20 X 7 = 140.  If you want the map to be 10 screens wide you need to increase it to 200. 

Each screen is 12 tiles tall.  Therefore if you want a map 4 screens tall you need to set the height to 4 X 12 = 48.

In the example below (and the map used by the default game on the skeleton disk) the map is 140 wide (7 screens) and 48 tall (4 screens).

The program seems to be able to have very large maps but for your first game start small and add extra areas on once you are confident with package. 
Picture
Quick note about the Zoom function.  If you have a large map this option allows you to jump to a particular part of the map.  As we have changed the tiles to the default game the map is going to look very jumbled.
Picture
Now for the fun part.  The drawing of the map.  The two arrows to the right - one pointing up and one pointing down, allow you to scroll through the tiles.  The smaller arrows to the left allow to scroll around the map.

I really can't emphasize the need to start small. It gets very confusing if you start with a back map.  Work on one room first (remember the 20 tiles wide and 12 tiles tall dimensions to map out the screen first).

Use your mouse to select the tile you want, the current selected tile is shown in the bottom right corner.  Left mouse button places tile and right mouse button will undo last change.

Remember the map will automatically sort out the code for moving to the next room.  Therefore if you include a tile with 0 value on the bottom, the character will fall downwards to the screen below.  If you don't want this to happen include a tile with a solid value of 50.  Similarly if you don't want the platyer to move right, include a series of tiles with value 50 to the right of the screen.

If you set your tile values incorrectly you can get strange effects, like the player's character disappearing or even walking in the opposite direction.
Picture
If you have used a map editor before, this is quite self explanatory and easy to use.  I have never used a map editor before and created a series of rooms in minutes.

That ends tutorial two.  The next tutorial will either look at sprites or setting zones. The aim is to create a simple action where the player enters the door of the house and gets transported to the living room and then when they exit the blue door they go back to screen one.
1 Comment

Deleted post 

11/21/2014

0 Comments

 
UPDATE - this incomplete game has now been removed from download.
0 Comments

Deleted Post

8/26/2014

0 Comments

 
0 Comments
<<Previous

    AmigaPd

    Amiga PD is a charityware site - if you download any disk images you are encouraged to donate to our chosen charity - Mencap - at our justgiving page.

    Picture

    About Us

    AmigaPd is dedicated to promoting past, current and future public domain games for the Commodore Amiga.

    Archives

    August 2015
    December 2014
    November 2014
    August 2014
    May 2014
    April 2014
    February 2014
    January 2014
    December 2013
    November 2013
    October 2013
    August 2013
    May 2013
    April 2013
    March 2013
    February 2013
    January 2013
    December 2012
    November 2012
    October 2012

    Categories

    All
    1980s Football Manager
    Dangermouse
    E_Book
    Football Manager 2
    Interviews
    New Games
    Reality Game Creator
    Recommended Games
    Videos

    Visitors


Powered by Create your own unique website with customizable templates.