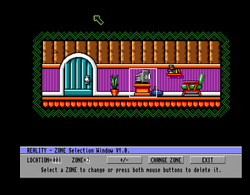
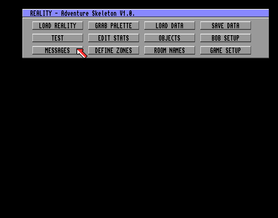
The first thing we need to do is draw a zone around where you want the text message to appear.
Remember tutorial 3, select Define Zones from the Skeleton Disk menu option and draw a square around the part of the screen you want the player to interact with to obtain a message.
In this example, I want the player to get a message if they press the fire button when infront of the TV. I have therefore drawn zone 2 around the TV. I have to keep Zone 1 for the door from tutorial 3.
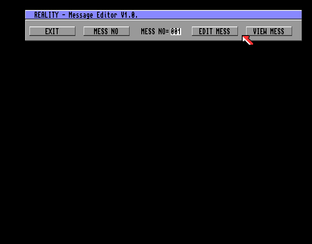
As this is a new game we are going to edit message number 1. To select different messages press the left mouse button on Mess No to increase the message number and use your right mouse button on Mess No to decrease the message.
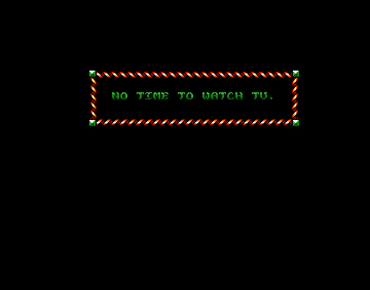
This will take you back to the Main Message option - from here you can select View Mess and this will show you how your message will look in the game.
Right mouse button will exit the preview.
Extra notes on message writing -
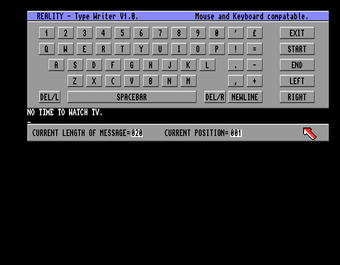
Selecting new line once will show this character #
If you are writing a long message you may want to use select new line twice ## This will create a new box giving you more characters to display your message.
In this example, we adding a message in location 8 - so I need to change the location to 8.
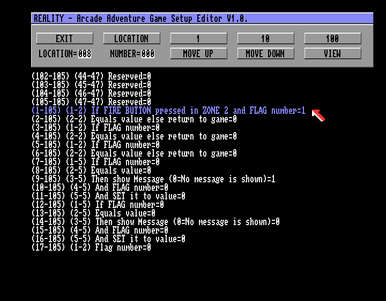
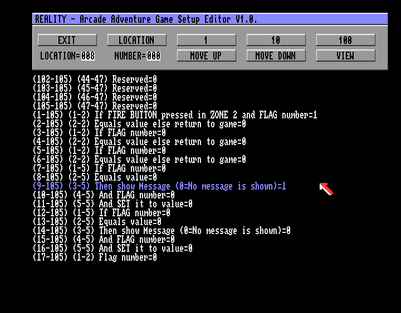
Then I need to scroll down to the relevant part which relates to zone 2 and change the flag setting to 1 for if the fire button is pressed.
From the main Skeleton Disk menu you need to select Save Data.
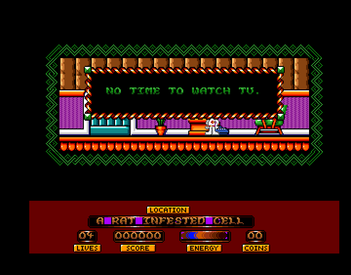
Now select Test from the main skeleton disk menu and hopefully you should get the text message as you want in your game.
